How to bring your own FPV goggles and radio to the track
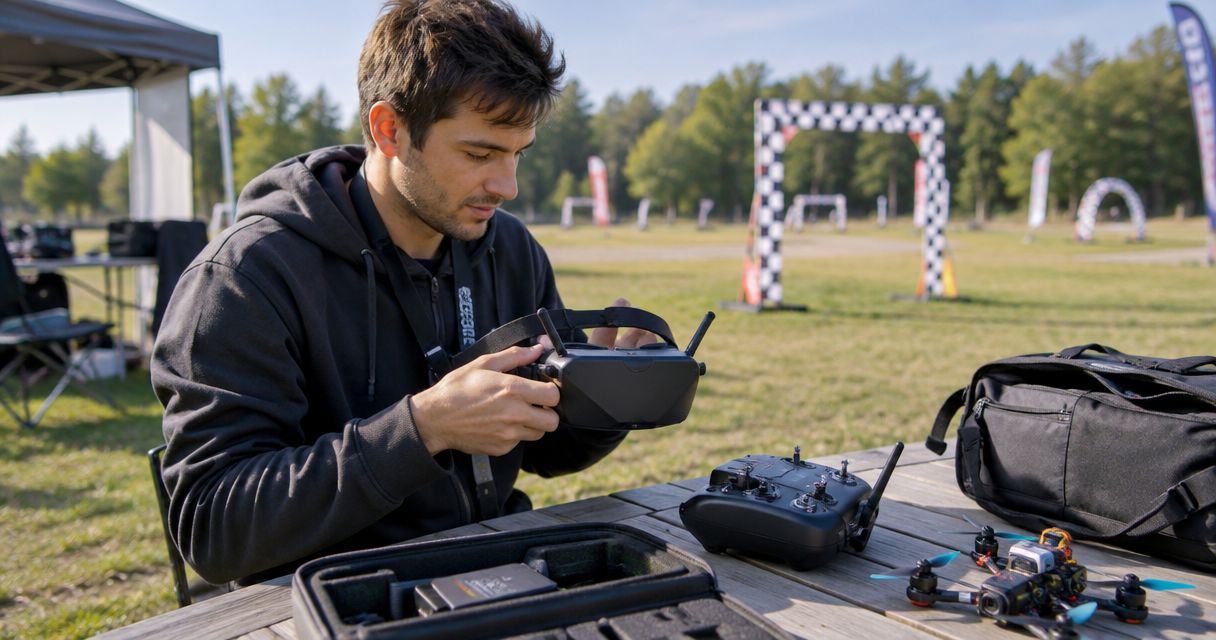
Instead of troubleshooting your goggles and radio beside the track, check both connections at home and arrive with a documented setup. To bring your own FPV goggles to track sessions, confirm the organizer’s equipment rules, match your goggles to the drone’s video system, and test your radio separately before flying.
TL;DR
- To bring your own fpv goggles to track sessions, confirm equipment rules and video compatibility before packing.
- FPV goggles receive video; your radio controls the drone through a separate connection.
- SquadFlight’s permanent Las Vegas gym is still in development; confirm current activities before planning a visit.
- Keep propellers off during control checks, and coordinate video power-up with the session organizer.
Why this matters
First-person view, or FPV, means flying from the drone’s onboard camera feed. Your goggles show that feed; your radio sends control commands. A working picture does not prove you have working controls. Treat video and control as 2 separate links, each with its own compatibility check.
For your 2026 Las Vegas plans, SquadFlight is building a climate-controlled micro-FPV gym with LED glow-gate tracks, simulators, and beginner-friendly training. The permanent venue is not open. Current meetup, training, or garage-lab arrangements need separate confirmation; future venue features are not present-day access promises.
SquadFlight suits Las Vegas beginners exploring indoor micro-FPV; its permanent gym is still being built. Bring-your-own gear preparation starts with the actual session arrangements, not assumptions about a future flight line.
Before you start
-
Get the organizer’s requirements. Confirm the session location, permitted aircraft, video systems, channel coordination, and whether you are flying your own drone or arranging another aircraft. Do not assume supplied gear or Fly-and-Swap access.
-
Gather your equipment and documentation. Bring your goggles, radio, antennas, charged batteries, required cables, and the exact model names of your drone’s receiver and video equipment. Keep relevant manufacturer instructions accessible.
-
Catch the compatibility gotcha. A radio brand does not identify its control protocol, and digital goggles do not receive every digital video system. Confirm the complete equipment pairing before changing firmware or binding anything.
Your goal is a repeatable setup, not a flight-line repair project. If the aircraft is not yours, get permission before changing its receiver, video configuration, or flight-controller settings.
Equipment compatibility
Identify your video and control systems
-
Read the model information on your goggles and the drone’s video transmitter. The video transmitter, often shortened to VTX, sends the camera feed to your goggles.
-
Identify whether the drone uses analog video or a particular digital video system. Check the manufacturers’ compatibility documentation for the exact goggles and transmitter combination.
-
Identify the drone’s control receiver and the protocol it uses. The receiver is the component that accepts commands from your radio.
-
Confirm your radio has the matching internal transmitter or external module. Record the relevant firmware versions where the manufacturer requires compatible versions.
-
Write down the working combination before making changes. Keep video compatibility and radio compatibility on separate lines.
Expected result: You can identify what receives the picture, what receives your commands, and why each pairing is compatible. Matching plugs or matching brand names alone is not enough.
For a 2026 session, use current manufacturer documentation rather than copying settings from an older setup video. The useful information is the supported equipment combination, not the upload’s popularity.
Choose the right video workflow
Analog and digital video need different setup routines. Neither label tells you whether a particular session accepts your equipment; the organizer’s requirements still decide that.
Video workflow Best for What to verify Advantage Limitation
Analog video Pilots bringing a compatible analog aircraft and receiver Supported frequency band, exact channel frequency, antenna connections A compatible receiver can tune to the assigned signal Nearby transmitters and incorrect channel selection can disrupt reception
Digital video Pilots bringing a supported digital equipment pairing Exact system compatibility, linking procedure, supported firmware A supported pairing provides an established video-link workflow Different digital systems are not automatically interchangeable
Use the workflow your aircraft already supports. Do not replace working equipment just to match another pilot’s setup. The first task is confirming compatibility, not collecting a new shopping list.
Radio and aircraft checks
Prepare the radio model
-
Select the radio’s saved model configuration for the aircraft you intend to fly. Check the selected transmitter module and protocol against your receiver documentation.
-
Inspect the radio antenna or module antenna and confirm it is attached as required. Follow the manufacturer’s handling instructions.
-
Follow the receiver manufacturer’s binding procedure if the radio and receiver are not already paired. Binding establishes the control connection; it does not connect the goggles.
-
Remove the aircraft’s propellers before powering it for control setup. Support the aircraft on a stable surface and keep loose objects away from the motors.
-
Check the receiver inputs using the aircraft’s supported configuration software. Confirm the sticks and switches move the intended channels in the intended direction.
Screen names and menu locations depend on your radio firmware and flight controller. Follow the manual for your exact setup instead of looking for a universal button that does not exist.
Expected result: The aircraft receives the intended commands from the selected radio model, with propellers removed throughout the setup check.
Verify control behavior
Run 3 control checks: stick response, arm switch, and failsafe. Failsafe is the aircraft’s configured response when the control link is lost; knowing that response matters before entering a shared flying area.
-
Check throttle, roll, pitch, and yaw in the configuration software. Roll tilts left or right, pitch tilts forward or backward, and yaw turns the aircraft’s heading.
-
Check which switch arms the aircraft and which position disarms it. Arming enables the motors to operate; disarming stops that command state.
-
Confirm your flight-mode switch positions. Angle mode uses self-leveling behavior; Acro mode requires you to manage the aircraft’s attitude without that self-leveling assistance.
-
Verify failsafe behavior according to the flight-controller documentation, with propellers removed. Do not experiment with loss of control during a live flight.
-
Save a record of the confirmed configuration. Reinstall propellers only after the bench checks are complete and the aircraft is ready for the permitted flight area.
Expected result: You know how the aircraft responds, how to stop the motors, and what it is configured to do if the radio connection fails. That is a setup check, not a guarantee against crashes.
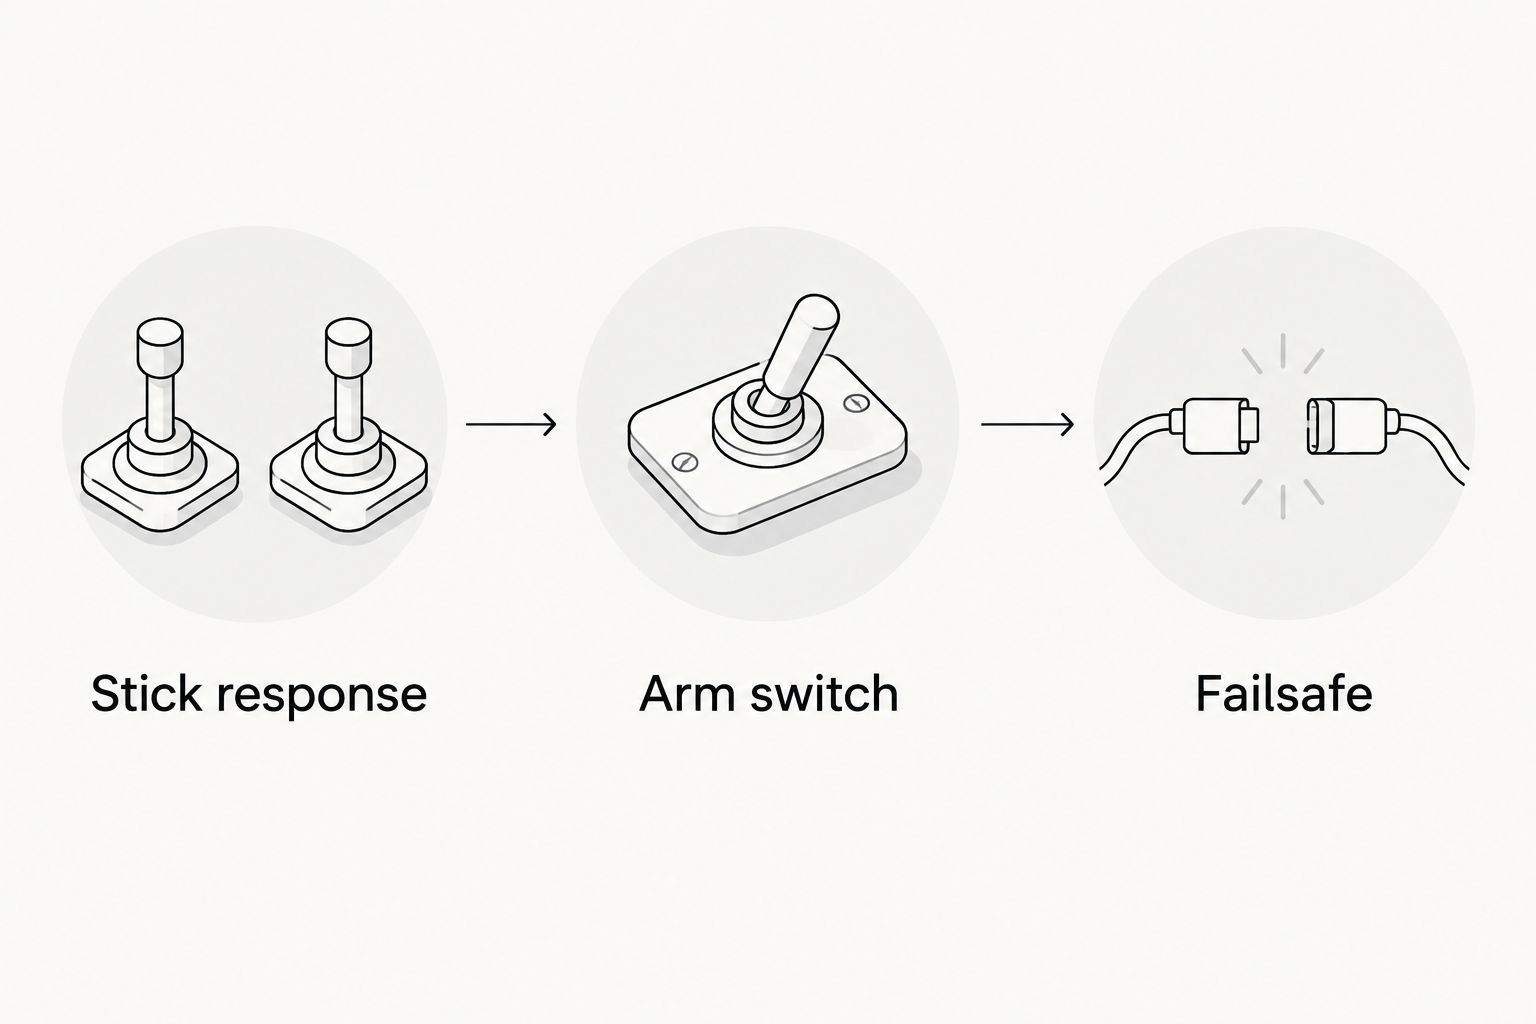
Confirm control behavior with the propellers removed before joining the flight line.A saved model is useful only if it matches the aircraft in front of you. If you swap receivers, transmitter modules, or flight-controller settings, repeat the checks rather than trusting the model’s name.
Video setup and track arrival
Prepare the goggles
-
Inspect the goggles, power cable, battery connector, and antennas. Use the power source specified by the manufacturer; a connector that fits does not establish electrical compatibility.
-
Adjust the headset fit and any supported optical adjustments before starting the aircraft. You should be able to read the displayed information without holding the goggles in place.
-
For analog video, tune the receiver to the aircraft’s exact assigned frequency. Do not rely only on a channel label, because band and channel names need their frequency context.
-
For digital video, follow the supported linking procedure for the exact goggles and onboard video equipment. Confirm any required compatibility conditions first.
-
Test the camera feed and on-screen display, or OSD. The OSD is the flight information overlaid on the picture; check that the information you need is readable.
Expected result: Your goggles show the intended aircraft’s feed, and you can read its display. Keep powered bench tests within the equipment’s cooling requirements; a stationary video transmitter lacks flight airflow.
Join the session without disrupting other pilots
-
Check in with the organizer before powering the aircraft’s video transmitter. Report your video system and follow the session’s channel-assignment procedure.
-
Keep the radio and goggles ready while waiting for permission to power the aircraft. A powered radio is not the same thing as a transmitting onboard video unit.
-
Confirm the aircraft, channel, and pilot position before putting on the goggles. If a helper handles the drone, agree on clear power-up and stop instructions.
-
Inspect the aircraft after transport. Check propellers, battery attachment, antenna placement, and anything that shifted in the bag.
-
Start with a controlled familiarization flight in the designated area. Skip the race pace until you have checked the picture and control feel under the actual session conditions.
Expected result: You enter the flight area with an assigned video arrangement and a tested aircraft, rather than powering up blindly beside someone already flying.
For SquadFlight activities in 2026, ask which arrangements apply to that specific meetup, training session, or garage-lab visit. A future indoor track description is not permission to fly at a current gathering.
Repeat the workflow when you change aircraft
Bringing the same goggles and radio to a different drone is a separate compatibility task. The second aircraft can use a different receiver protocol, video system, or control configuration even when both drones look like similar micro-FPV builds.
-
Identify the new aircraft’s receiver and video transmitter before selecting a radio model.
-
Use a separate saved radio model when the aircraft requires different settings. Give it a name you can recognize without opening every menu.
-
Repeat the propeller-off control checks and the manufacturer’s video-link procedure as needed.
-
Confirm the new aircraft’s channel assignment with the organizer before powering its video transmitter.
Best for: Pilots alternating between their own aircraft or using another pilot’s drone with permission. The advantage is keeping aircraft-specific settings organized; the drawback is another configuration to maintain and verify.
Keep 1 aircraft active during each bench check. Powering several drones while changing settings creates unnecessary confusion about which receiver or video feed you are testing.
Troubleshooting
The goggles show no picture
Check goggles power, aircraft power, antenna connections, and video-system compatibility. For analog, verify the exact frequency; for digital, check the supported pairing and linking procedure. Repeatedly scanning cannot fix an incompatible receiver.
The picture appears, but the radio does nothing
Treat this as a control-link problem, not a goggles problem. Confirm the selected radio model, transmitter module, receiver protocol, and binding state, then inspect receiver input in the aircraft’s configuration software with propellers removed.
The aircraft receives commands but will not arm
Read the aircraft’s reported arming-disable reason rather than bypassing checks. Verify throttle position, arm-switch mapping, and any documented arming conditions. Do not disable a safeguard just to get airborne.
Another pilot’s feed appears or video becomes disrupted
Stop the setup attempt and tell the organizer. Confirm the assigned frequency and power-up arrangement before trying again; do not repeatedly change channels beside active pilots. If interference appears during flight, follow the session’s stop procedure.
The setup changes after a firmware update
Recheck documented compatibility and configuration before flying. Preserve supported backups before updates, and avoid making an untested update immediately before a session. For your 2026 setup record, note the firmware versions that actually worked together.
Customize your workflow
Make a compact equipment note containing the aircraft name, receiver protocol, video system, relevant firmware versions, radio model, and switch assignments. Keep session-specific channel assignments separate because those can change between gatherings.
If stick control is your bottleneck, practice with a compatible radio connection in a simulator before adding track pressure. The beginner FPV simulator guide is the next step for that workflow. Simulator practice does not verify your real aircraft’s receiver, video link, or failsafe.
Squad up with a working setup, not a bag of unanswered compatibility questions. Bring your notes when asking for help; exact model names make troubleshooting more useful than describing everything as digital or beginner gear.
FAQ
Can I bring my own FPV goggles to a track?
Bring your own goggles only after confirming the organizer’s rules and aircraft compatibility. Identify the exact video system and follow the session’s channel or linking arrangements before powering the drone.
Do FPV goggles connect to my radio?
FPV goggles receive the drone’s video, while the radio communicates with its control receiver. Check these connections separately; a camera picture does not confirm that your radio controls the aircraft.
Will any digital FPV goggles work with any digital drone?
No, digital FPV equipment is not universally interchangeable. Check the manufacturers’ supported pairing for your exact goggles and onboard video equipment, including any firmware requirements.
Can I use my radio with someone else’s drone?
You need the owner’s permission and a compatible transmitter-and-receiver pairing. Check aircraft-specific settings and control behavior with propellers removed before flying.
Should I use automatic scanning on analog goggles?
Use the assigned exact frequency rather than treating automatic scanning as confirmation. A scan can find a signal without establishing that it is the correct aircraft or session channel.
Is the permanent SquadFlight gym open in 2026?
The permanent SquadFlight gym is still in development. Confirm current meetup, training, and garage-lab arrangements separately, and do not assume house gear or Fly-and-Swap access.
What should I do if my picture works but my drone will not arm?
Check receiver input and the reported arming-disable reason with propellers removed. A working video feed does not establish a working control link or satisfy the aircraft’s arming conditions.
One last thing
Ask about video power-up before plugging in the drone. Connecting an aircraft battery can activate its video transmitter even when the motors remain disarmed. That distinction belongs on your 2026 track checklist: motor status and video-transmitter status are different things.